In Word 2013 How Do I Add the Time Which Changes Each Time I Print It Again
Lesson 17: Headers, Footers, and Folio Numbers
/en/word2013/columns/content/
Introduction
The header is a section of the document that appears in the top margin, while the footer is a section of the document that appears in the bottom margin. Headers and footers generally contain additional data such as page numbers, dates, an writer's name, and footnotes, which can help go on longer documents organized and make them easier to read. Text entered in the header or footer will appear on each folio of the certificate.
Optional: Download our practice document.
To create a header or footer:
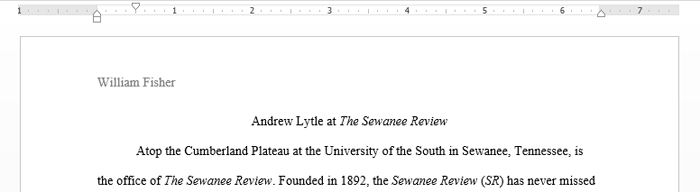
In our example, we want to display the author'southward name at the meridian of each page, so we'll place information technology in the header.
- Double-click anywhere on the top or bottom margin of your certificate. In our example, we'll double-click the top margin.
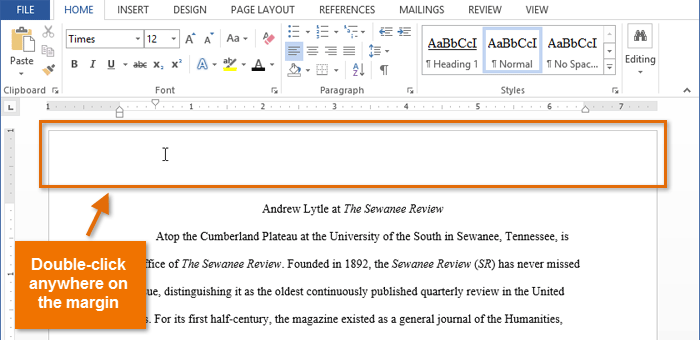 Double-clicking on the header
 - The header or footer will open, and a Blueprint tab will appear on the right side of the Ribbon. The insertion point volition appear in the header or footer.
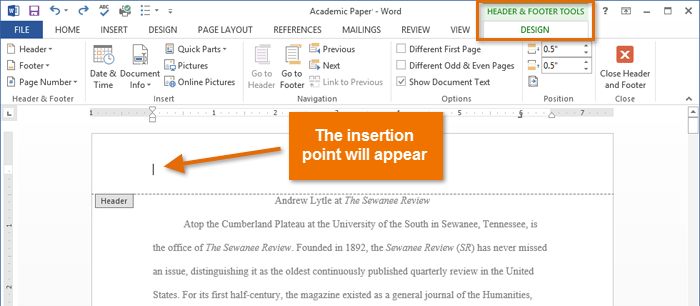 The open header
 - Type the desired information into the header or footer. In our instance, we'll type the author's name.
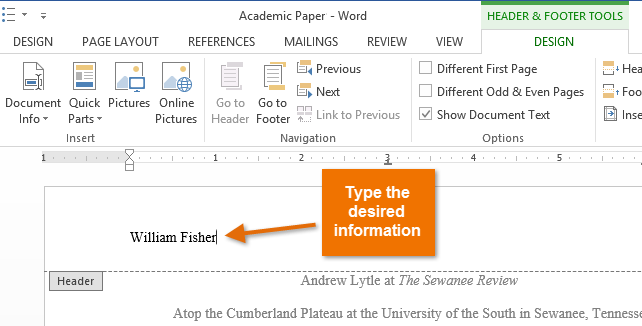 Typing text into a header
 - When you lot're finished, click Shut Header and Footer. Alternatively, yous can press the Esc key.
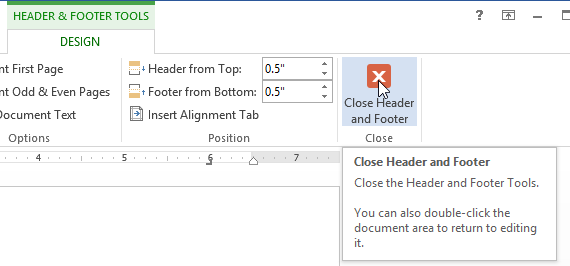 Clicking Shut Header and Footer
 - The header or footer text will appear.
 The finished header
To insert a preset header or footer:
Discussion has a variety of preset headers and footers y'all can use to raise your document's design and layout. In our example, nosotros'll add a preset header to our document.
- Select the Insert tab, then click the Header or Footer command. In our example, we'll click the Header command.
 Clicking the Header command
 - In the menu that appears, select the desired preset header or footer. In our example, we'll select a header.
 Selecting a preset header
 - The header or footer will appear. Preset headers and footers comprise placeholders for data such as the title or date; they are known as Content Control fields.
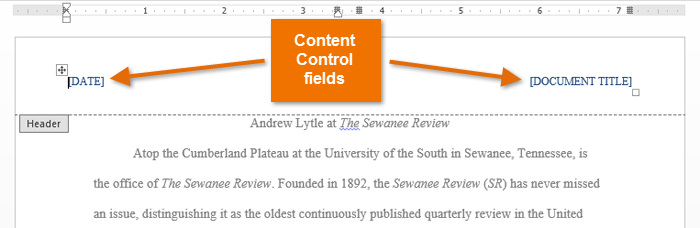 Content Command fields
 - To edit a Content Control field, click information technology and type the desired information.
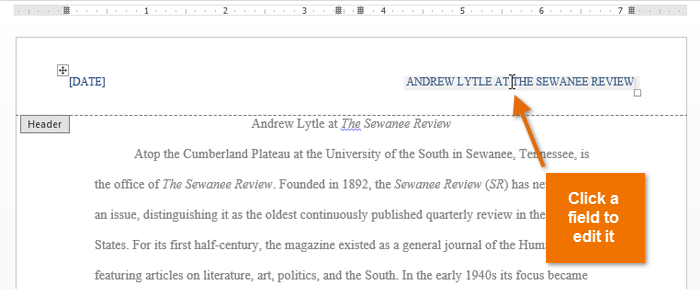 Editing a Content Control field
 - When you're finished, click Close Header and Footer. Alternatively, yous can press the Esc key.
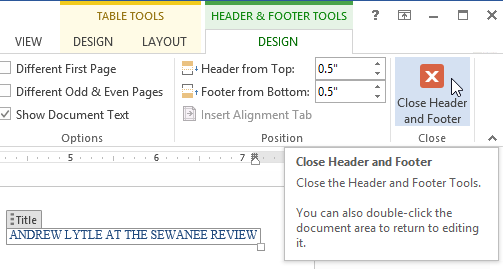 Closing the Header and Footer
If you want to delete a Content Control field, right-click it and select Remove Content Control from the menu that appears.
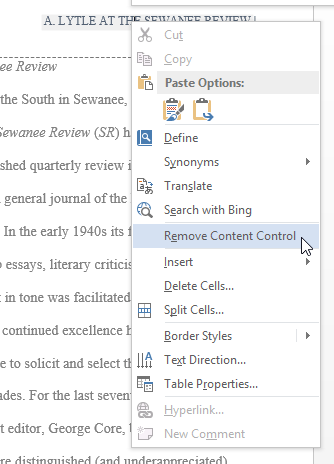 Removing a Content Command field
Editing headers and footers
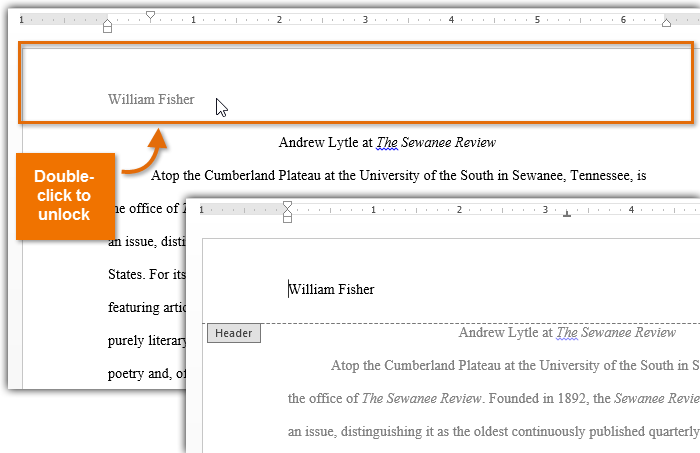
Afterwards you close the header or footer, it volition still exist visible, but it will be locked. But double-click a header or footer to unlock it, which will permit you to edit it.
 Opening a header
Design tab options
When your document'south header and footer are unlocked, the Pattern tab will appear on the right side of the Ribbon, giving you various editing options:
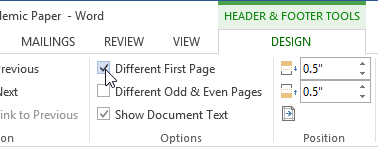
- Hide the get-go-page header and footer: For some documents, you may not want the first folio to show the header and footer, like if you have a embrace folio and desire to start the folio numbering on the 2d page. If you want to hide the first folio header and footer, check the box side by side to Different First Page.
 Hiding the first page header and footer
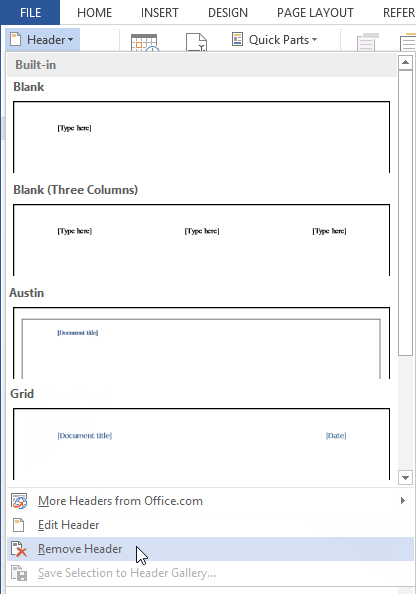
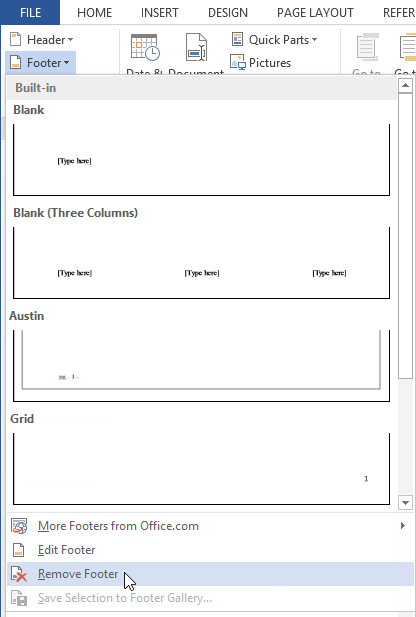
 - Remove the header: If you want to remove all information contained in the header, click the Header command and select Remove Header from the bill of fare that appears.
 Removing the header
- Remove the footer: If you lot want to remove all data contained in the footer, click the Footer control and select Remove Footer from the menu that appears.
 Removing the footer
- Additional options: With the Page Number command and the commands bachelor in the Insert grouping, you can add together page numbers, the date and fourth dimension, pictures, and more to your header or footer.
 Insert group on the Ribbon
To insert the date or time into a header or footer:
Sometimes it's helpful to include the date or fourth dimension in the header or footer. For example, you may want your document to show the date when information technology was created.
On the other hand, you may want to evidence the date when it was printed, which you lot tin do by setting it to update automatically. This is useful if you lot oft update and impress a certificate because you'll always be able to tell which version is the most recent.
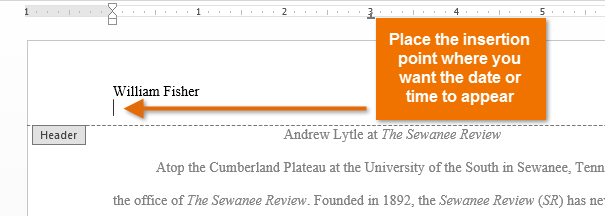
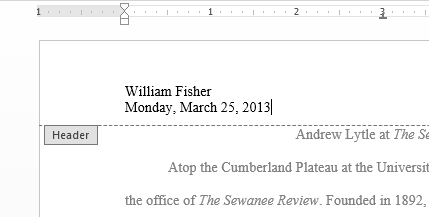
- Double-click anywhere on the header or footer to unlock it. Identify the insertion point where y'all want the engagement or time to appear. In our example, we'll place the insertion point on the line below the author's name.
 Placing the insertion point in the unlocked header
 - The Blueprint tab will appear. Click the Engagement & Time control.
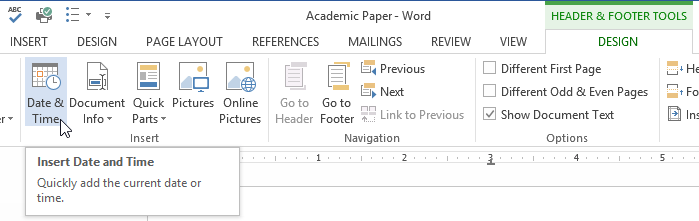 Clicking the Engagement & Time command
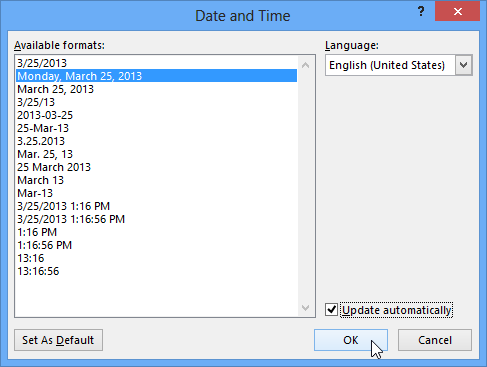
 - The Date and Fourth dimension dialog box volition appear. Select the desired date or time format.
- Check the box next to Update Automatically if you want the date to change every time you open the certificate. If y'all don't want the engagement to alter, get out this selection unchecked.
- Click OK.
 Selecting a appointment choice
 - The date volition appear in the header.
 The appointment in the header
Adding folio numbers
Discussion can automatically characterization each folio with a page number and place it in a header, footer, or side margin. When y'all demand to number some pages differently, Word allows you to restart page numbering.
To add page numbers to a document:
In our example, we'll add together page numbering to our certificate's footer.
- Double-click anywhere on the header or footer to unlock it. If you don't already accept a header or footer, you tin double-click near the top or lesser of the page. The Design tab volition appear on the correct side of the Ribbon.
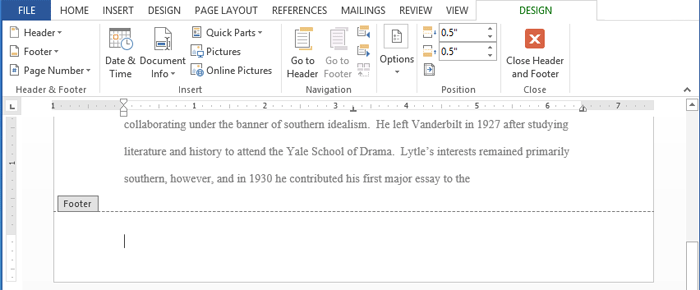 Unlocking the footer
 - Click the Page Number command. In the menu that appears, hover the mouse over Current Position and select the desired page numbering style.
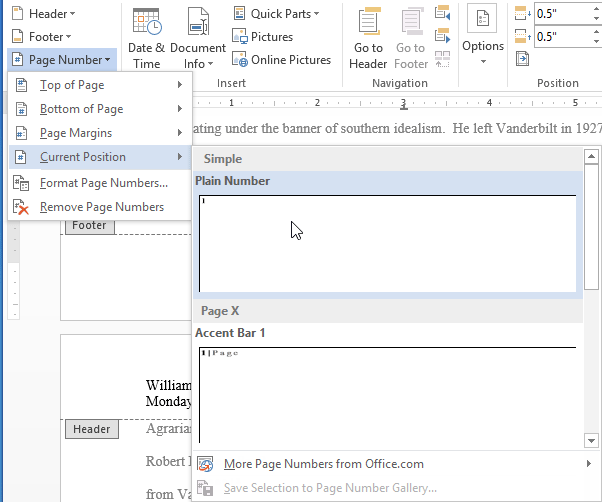 Selecting a page number way
 - Folio numbering volition announced.
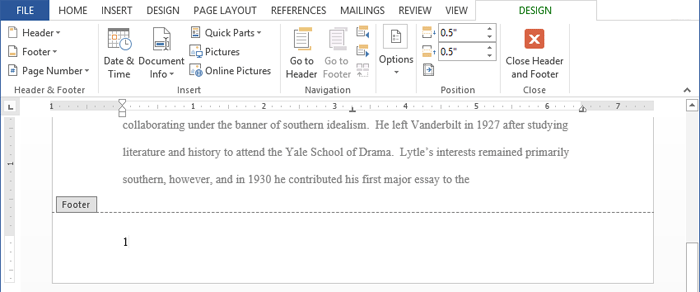 A folio number in the footer
 - To edit the font, font size, and alignment of page numbers, select a page number and click the Domicile tab. Word'southward text formatting options will appear.
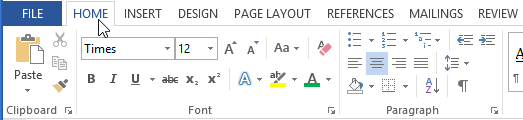 Clicking the Home tab
 - When you're finished, press the Esc cardinal. The page numbering will exist formatted.
 A formatted page number
Alternatively, y'all can add page numbers to the header or footer by clicking the Page Number control and and so selecting Summit of Folio or Bottom of Page. If you have an existing header or footer, it will exist removed and replaced with the page number.
 Top of Page and Bottom of Folio options
To restart page numbering:
Word allows you lot to restart folio numbering on any page of your document. You tin can practise this by inserting a section break and then selecting the number yous want to restart the numbering with. In our example, we'll restart the folio numbering for our certificate'due south Works Cited section.
- Place the insertion point at the top of the page you want to restart page numbering for. If there is text on the page, identify the insertion point at the beginning of the text.
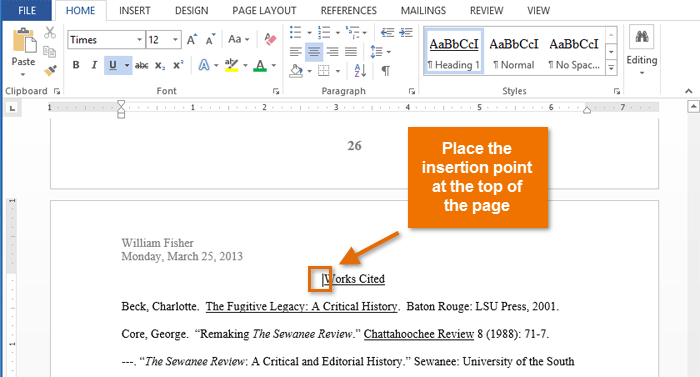 Placing the insertion signal
 - Select the Page Layout tab, then click the Breaks command. Select Next Page from the drop-down card that appears.
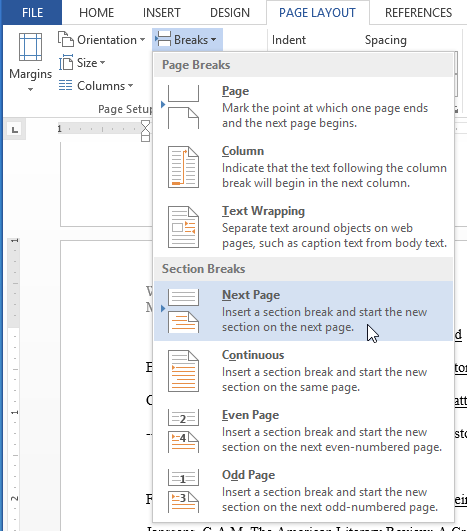 Selecting Next Page
 - A section interruption volition exist added to the certificate.
- Double-click the header or footer that contains the page number yous want to restart.
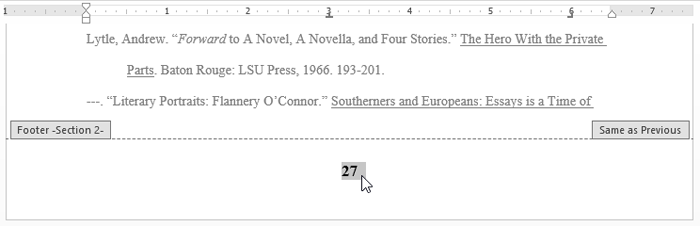 Selecting the page number to restart
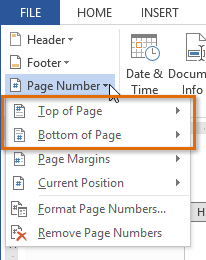
 - Click the Page Number command. In the card that appears, select Format Page Numbers.
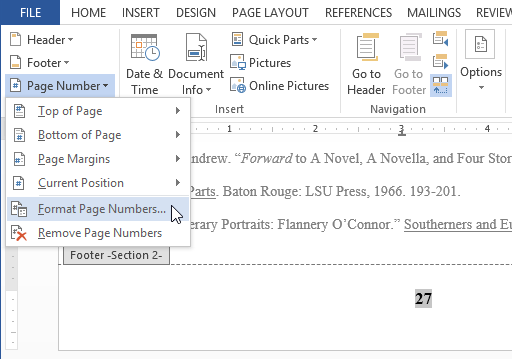 Formatting the page number
- A dialog box will appear. Click the Start at: push button. By default, it will beginning at 1. If you want, you lot tin can change the number.
- Click OK.
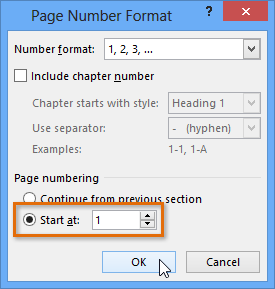 Restarting the page numbering
 - The page numbering will restart.
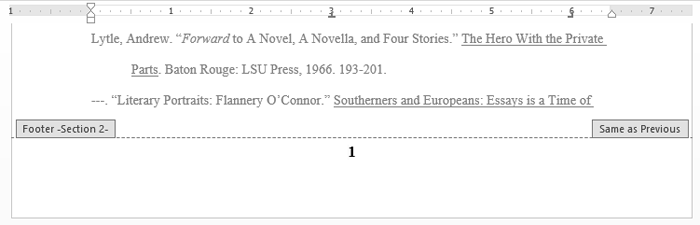 The restarted folio numbering
To larn more nigh adding section breaks to your document, visit our lesson on Breaks.
Claiming!
- Create a new Word document. If yous want, y'all can apply our practice certificate.
- Create a blank header. If you're using the example, unlock the header.
- Add together a name to the header. If you lot're using the instance, type the name Tom Shelby after Professor.
- Effort inserting a preset header or footer.
- Add today's date to the header. If y'all're using the example, add today's date below Professor Tom Shelby.
- Try calculation a page number to the footer. If y'all're using the case, add together a page number to the bottom of the page.
- Try restarting the folio numbering.
/en/word2013/pictures-and-text-wrapping/content/
Source: https://edu.gcfglobal.org/en/word2013/headers-footers-and-page-numbers/1/
Belum ada Komentar untuk "In Word 2013 How Do I Add the Time Which Changes Each Time I Print It Again"
Posting Komentar